
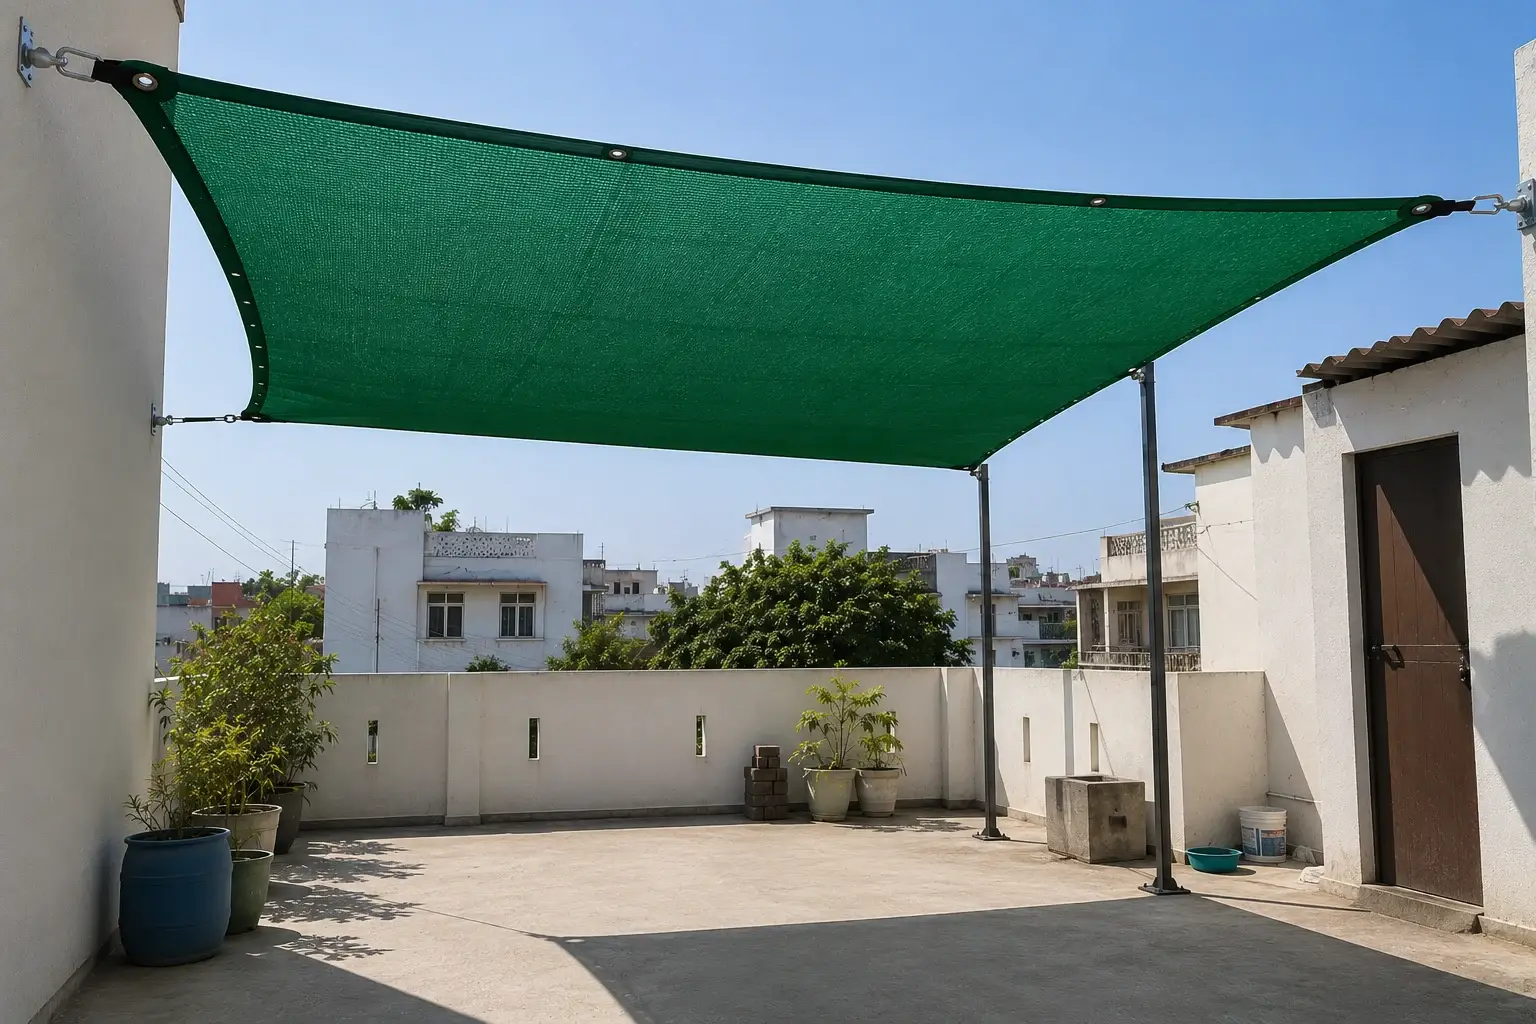
Choosing the right shade net size starts with one simple step: measuring the space correctly. A net that is too small may leave uncovered areas, while one that is much larger than required can make installation more difficult.
Whether you are planning shade for a balcony, terrace, garden, or another outdoor area, accurate measurements help you choose a practical net size and plan where it will be fixed.
Quick Answer
To measure a space for shade net installation, measure the length and width of the area you want to cover, identify the points where the net will be fixed, and compare your measurements with the available shade-net dimensions. For an irregular space, measure each section separately rather than relying only on total square footage.
Remember that the covered area and the fixing area are not always exactly the same. Your measurement should account for how and where the shade net will actually be installed.
Why Accurate Shade Net Measurement Matters
Before ordering a shade net, it is useful to know exactly how much area you need to cover.
Accurate measurement can help you.
- Choose a suitable available net size
- Avoid ordering a net that is too small
- Plan the fixing points before installation
- Understand whether the net can be installed wall-to-wall
- Reduce unnecessary cutting or adjustments
- Make installation easier and more organised
For this reason, do not measure only by looking at the floor or open area. Think about where the net will start, where it will end and where each corner will be secured.
What You Need Before Measuring
You do not need complicated equipment for a normal residential shade-net measurement.
Keep these items ready:
- Measuring tape
- Pen or pencil
- Paper or phone for recording measurements
- Ladder, if required for safely checking higher fixing points
- A simple sketch of the area
For larger terraces or gardens, measuring each side twice can help reduce recording errors.
How to Measure a Rectangular Balcony
For a simple rectangular balcony, start by measuring the length and width of the area where you want the shade net.
For example:
Length = 10 ft
Width = 6 ft
The floor area is:
10 × 6 = 60 sq ft
However, do not stop at the area calculation.
Also check:
- Where will the four corners be fixed?
- Are the fixing points at the same height?
- Is there a wall, railing, or suitable support at each corner?
- Does the net need to cover the entire opening or only part of it?
This distinction is important because a 10 × 6 ft open area does not automatically mean that every 10 × 6 ft installation will use the same fixing arrangement.
How to Measure a Terrace
Terraces can be more complicated because the available fixing points may not follow the exact boundary of the usable area.
First measure the length and width of the portion that requires shade.
For example:
Terrace section = 15 ft × 10 ft
Then identify the practical fixing locations around that section.
If the net will be stretched between walls, poles, or other suitable supports, record the approximate position of each fixing point. A quick hand-drawn layout can be very useful.
Important tip
Do not measure from an imaginary center point. Measure from the actual points between which the net will be installed.
This gives you a much more useful measurement for installation planning.
How to Measure a Garden Area
Garden spaces may have plants, pathways, walls, or other objects that make the shape less straightforward.
If the area is rectangular, use the same length × width method.
For example:
12 ft × 8 ft = 96 sq ft
If only part of the garden needs shade, measure that specific section instead of measuring the complete garden.
Also check whether the shade net will be:
- Fixed between existing supports
- Attached to poles
- Installed above a selected garden section
- Spanning between different fixing points
The fixing arrangement can influence which available net dimension is most practical.
How to Measure an Irregular-Shaped Space
Not every outdoor area is a perfect rectangle.
If the space is L-shaped or has different sections, divide it into smaller rectangles.
For example:
Section A: 10 ft × 6 ft
Section B: 6 ft × 4 ft
Calculate each section separately and then combine the measurements.
This is usually more reliable than trying to estimate the entire irregular area as one shape.
If the installation has unusual angles or multiple levels, make a simple sketch and mark every corner and fixing point. This gives you a clearer reference when selecting the net size.
How to Measure Wall-to-Wall Installation
Wall-to-wall installation requires extra attention because the distance between fixing points matters.
Measure:
- Distance from one fixing point to the opposite fixing point
- Distance between the other two fixing points
- Approximate height of each fixing point
- Any difference in level between opposite sides
For example, suppose two opposite fixing points are approximately 10 ft apart, while the other direction measures 6 ft.
Record it as:
10 ft × 6 ft — wall-to-wall fixing
This information is more useful than simply writing “60 sq ft terrace.”
The goal is to understand the actual installation span, not just the mathematical area.
How to Mark Shade Net Fixing Points
Once the dimensions are measured, mark the intended fixing points on your sketch.
For a basic four-corner installation, label them:
A — B
D — C
Then record the approximate distance between:
- A and B
- B and C
- C and D
- D and A
If additional support points are planned, mark those as well.
This simple step can prevent a common mistake: ordering the correct area but discovering later that the available fixing arrangement does not match the installation.
For Trinqet shade nets, also consider the reinforced edges and eyelet locations while planning the installation. The fixing method should suit the actual structure and the way the net is intended to be secured.
Common Shade Net Measurement Mistakes
1. Measuring only the floor area
A floor measurement does not always represent the actual installation span.
2. Forgetting the fixing points
Always identify where the net will be attached before finalizing the size.
3. Measuring only once
A small measurement error can become significant when ordering a larger net. Recheck important dimensions.
4. Ignoring irregular sections
Do not force an L-shaped or uneven space into one simple rectangle. Divide it into measurable sections.
5. Confusing area with dimensions
A space of 60 sq ft could have different dimensions, such as 10 × 6 ft or 12 × 5 ft. The area alone does not tell you which net dimensions you need.
Worked Examples
Example 1: 10 × 6 ft Balcony
Measured space:
10 ft × 6 ft
Area:
60 sq ft
Next, check the actual fixing points and compare the dimensions with the available Trinqet sizes.
Example 2: 15 × 10 ft Terrace
Measured space:
15 ft × 10 ft
Area:
150 sq ft
Instead of ordering based only on 150 sq ft, record the actual dimensions and check how the net will be fixed.
Example 3: L-Shaped Garden
Suppose the garden consists of:
Section A: 10 × 6 ft
Section B: 5 × 4 ft
Calculate both sections separately and use the resulting layout to decide how the shade should be arranged.
These examples show why dimensions + fixing points are more useful than area alone.
How to Select the Nearest Trinqet Size After Measuring
After completing the measurements, compare your actual installation dimensions with the available Trinqet shade-net sizes.
Do not select a size simply because its total square footage looks similar.
For example, if your measured area is 60 sq ft, first check the available dimensions that can practically cover the required span and work with your fixing arrangement.
Before placing an order, confirm:
- Required length
- Required width
- Number and position of fixing points
- Available Trinqet size
- Whether the selected dimensions suit your installation layout
If you are unsure between two dimensions, keeping your measurement sketch ready can make it easier to determine which option is more suitable for your setup.
Final Measurement Checklist
Before ordering your shade net, check these points:
- Length measured
- Width measured
- Irregular sections measured separately
- Actual fixing points identified
- Wall-to-wall distance checked where applicable
- Measurements recorded in the same unit
- Dimensions compared with available net sizes
- Installation layout reviewed before ordering
Final Thoughts
Measuring for a shade net is not difficult, but accurate dimensions and proper fixing-point planning can make the installation much easier.
Start with the length and width, identify the actual fixing points, divide irregular spaces into smaller sections, and compare your measurements with the available Trinqet dimensions.
The key is simple: do not choose a shade net based only on the total area. Measure the actual installation space and plan how the net will be secured.
For buyers comparing shade-net sizes, this approach provides a more practical starting point and helps avoid common sizing mistakes.
Need help choosing the right Trinqet size? Keep your measured length, width and fixing-point layout ready before selecting the shade net for your space.
